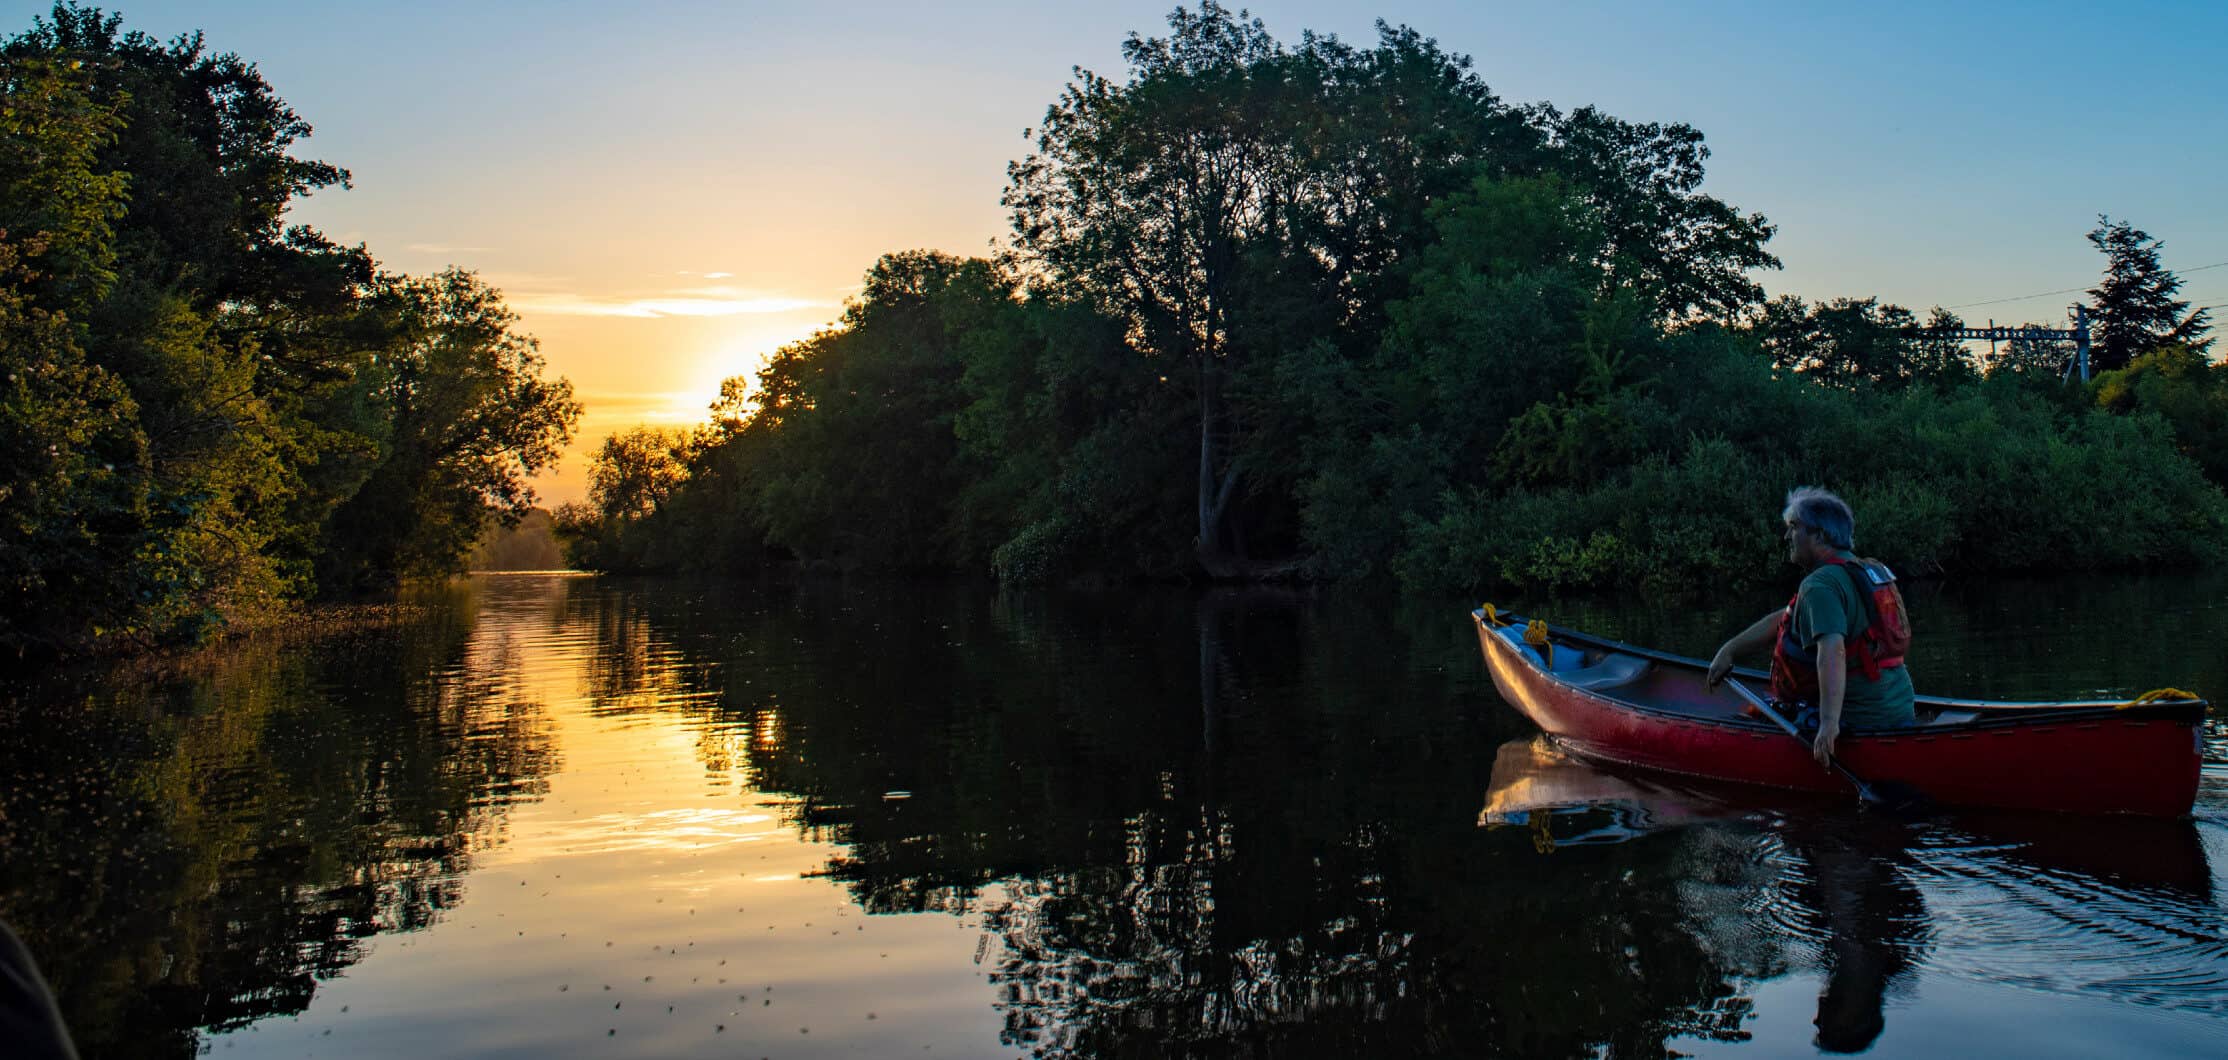
So you’ve had your new launch pad/steps/path installed and you want to show it off to its best potential for some publicity. To tell people all about it! To raise awareness and get people paddling. But you take out your phone to take a picture and you just can’t quite get a good photo. Maybe it’s dark, the angle isn’t quite right, or you can’t quite tell what the photo is actually… of?!
Below are our top tips for taking a great photo of your new installation, so we can all shout about the new facilities on offer.
TOP TIPS for taking photos of your new launch pad on your phone
- The angle of your photo is important. Don’t stand just square on to your subject – it’ll create a bit of a boring shot. So play with the angle. Sideways is always good, as you can also get a bit of the environment in around it to give your photo some context. Try getting lower down, or higher up, so the photo isn’t just ‘human height.’ It just adds a little creative flair. Have a play!
- Create some context. Without context, your photo could literally be of anything. Try to set up a mini photoshoot if you can. Get some paddlers using the installation and take photos with it in use. Have some paddlers in the background of your photo. Remember if you’re using people in your pictures, you need to make sure they’re ok with you and the Canoe Foundation using them for promotional purposes.
- Take photos mainly in landscape mode, but it’s always good to get a variety. Portrait photos are also great for Instagram or TikTok for example. So take a mix!
- We know you can’t control the weather or the seasons, but generally, photos always look better when there’s a bit of sunshine, some blue sky and greenery. Obviously, if you’re completing your project in winter, this might be a little difficult. But all year round try to plan your photos so that you get a good weather window. If you know you need photos for a certain time, keep an eye on the weather just to see when the best session for taking a few snaps might fall.
A few more tips…
- Experiment! Try not to just take one photo and then think ‘that’s it.’ You don’t need to completely clog up your phone storage, but just take a few using all the tips above. The more photos you take, the more choice you have to choose from at the end of the session.
- Check your focus. It’s really easy these days to make sure you’re in focus when using a phone camera. Usually, you just tap the screen to decide where you want the focus of the photo to be. Try taking some with the focus in the foreground (close to you) and some with the focus in the background (further away). It adds a nice depth of field but also helps with the context!
- Lighting. Especially outdoors, this can play a few tricks on you and turn a perfect photo into a blurry mess. Similarly with the focus, the ‘tap technique’ when taking photos on your phone can help to balance the brightness in your photo. Make sure your photo subjects aren’t too dark, and if they are, simply tap the screen where you want more light and the photo should naturally rebalance for you.
Hopefully that gives you a few top tips for taking photos of your new installation so you can show it off to its best ability. Don’t forget to send photos of your completed project to the Canoe Foundation so we can shout about it too! Email [email protected]
We rely on donations to improve places to paddle across the UK. Please consider donating a one off or regular amount to our Foundation to help us continue with our work and ensure everyone has sustainable, effective access to our waterways and coastline. Thank you. Donate here >

Last Updated: January 17, 2023 by Amy Roberts
Top tips for taking photos of your new launch pad
So you’ve had your new launch pad/steps/path installed and you want to show it off to its best potential for some publicity. To tell people all about it! To raise awareness and get people paddling. But you take out your phone to take a picture and you just can’t quite get a good photo. Maybe it’s dark, the angle isn’t quite right, or you can’t quite tell what the photo is actually… of?!
Below are our top tips for taking a great photo of your new installation, so we can all shout about the new facilities on offer.
TOP TIPS for taking photos of your new launch pad on your phone
A few more tips…
Hopefully that gives you a few top tips for taking photos of your new installation so you can show it off to its best ability. Don’t forget to send photos of your completed project to the Canoe Foundation so we can shout about it too! Email [email protected]
We rely on donations to improve places to paddle across the UK. Please consider donating a one off or regular amount to our Foundation to help us continue with our work and ensure everyone has sustainable, effective access to our waterways and coastline. Thank you. Donate here >
Category: News
Help us to help others
Your money can make a difference. No amount is too small. Please click the button below and donate today.